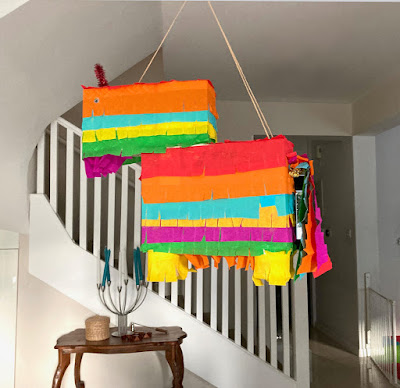
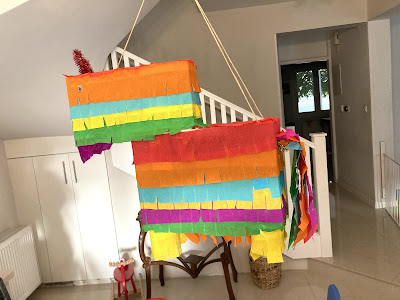
This is an easy, straightforward tutorial on how to make a hanging donkey piñata using cardboard boxes. It is quicker and less messy than the paper maché method. This one was made without sweets on the inside, but you can easily add them at the start.
What you need
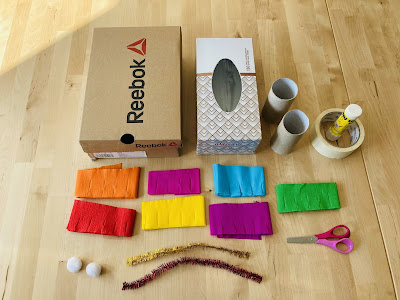
- Two rectangular boxes
- Two toilet roll tubes
- Pipe cleaners
- Pom-poms or oogly eyes
- Crepe paper
- Scissors
- Glue stick
- Masking tape
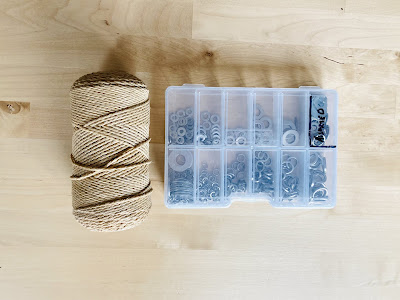
- Twine
- Washers (one small, one big)
How to make the piñata
If you are using it as a traditional piñata, start by filling the boxes with sweets. If the boxes are really sturdy, you could also cut holes in them to give them weak points on impact.
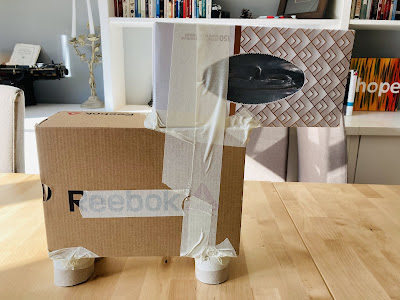
Cut the toilet roll tubes in half to make the legs.Stick the boxes and tubes together using masking tape.
Cut lines into the crepe paper. Apply glue to the boxes and start covering with crepe paper.
Add accessories (eyes, ears, tail).
How to hang the piñata
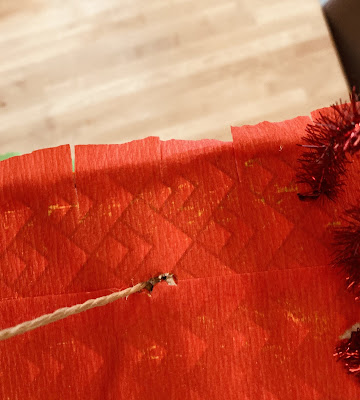
My husband found that 3 hanging points worked best for balance. Here’s how he secured the twine:
- Pass a big washer onto the twine, then a small one, then knot twine at the small washer end. So you’re left with this pattern: straight twine-big washer-small washer-knot.
- Make a small slot in the box where the twine will go
- Slip the knot and washers into the slot. The washers will turn horizontally once they’re inside and stop the twine from coming out.
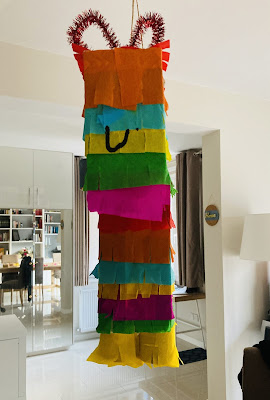
End result: one happy donkey piñata
To give credit where credit is due, this was a very joint family effort. The kids came up with the idea, I planned it and got supplies, started making it with the kids, then my husband took over while I had a nap and he came up with the ingenious hanging trick at the end! An afternoon well spent for all I’d say!

