

Laminated flowers, leaves and lace
Laminators are wonderful inventions. My husband got me one as a gift and I have since discovered its many uses, beyond protecting activity sheets from spilled juice, necessary as that is.
After experimenting with various materials, here are some easy laminated bookmark ideas using dried flowers, leaves or lace. More importantly, I have included tips from my process of trial and error!
Supplies
- Laminator
- Laminating pouches
- Lace
- Dried flowers
- Dried leaves
- Ribbon
- Puncher
- Scissors
- Paper cutter
How to make laminated dried flower bookmarks
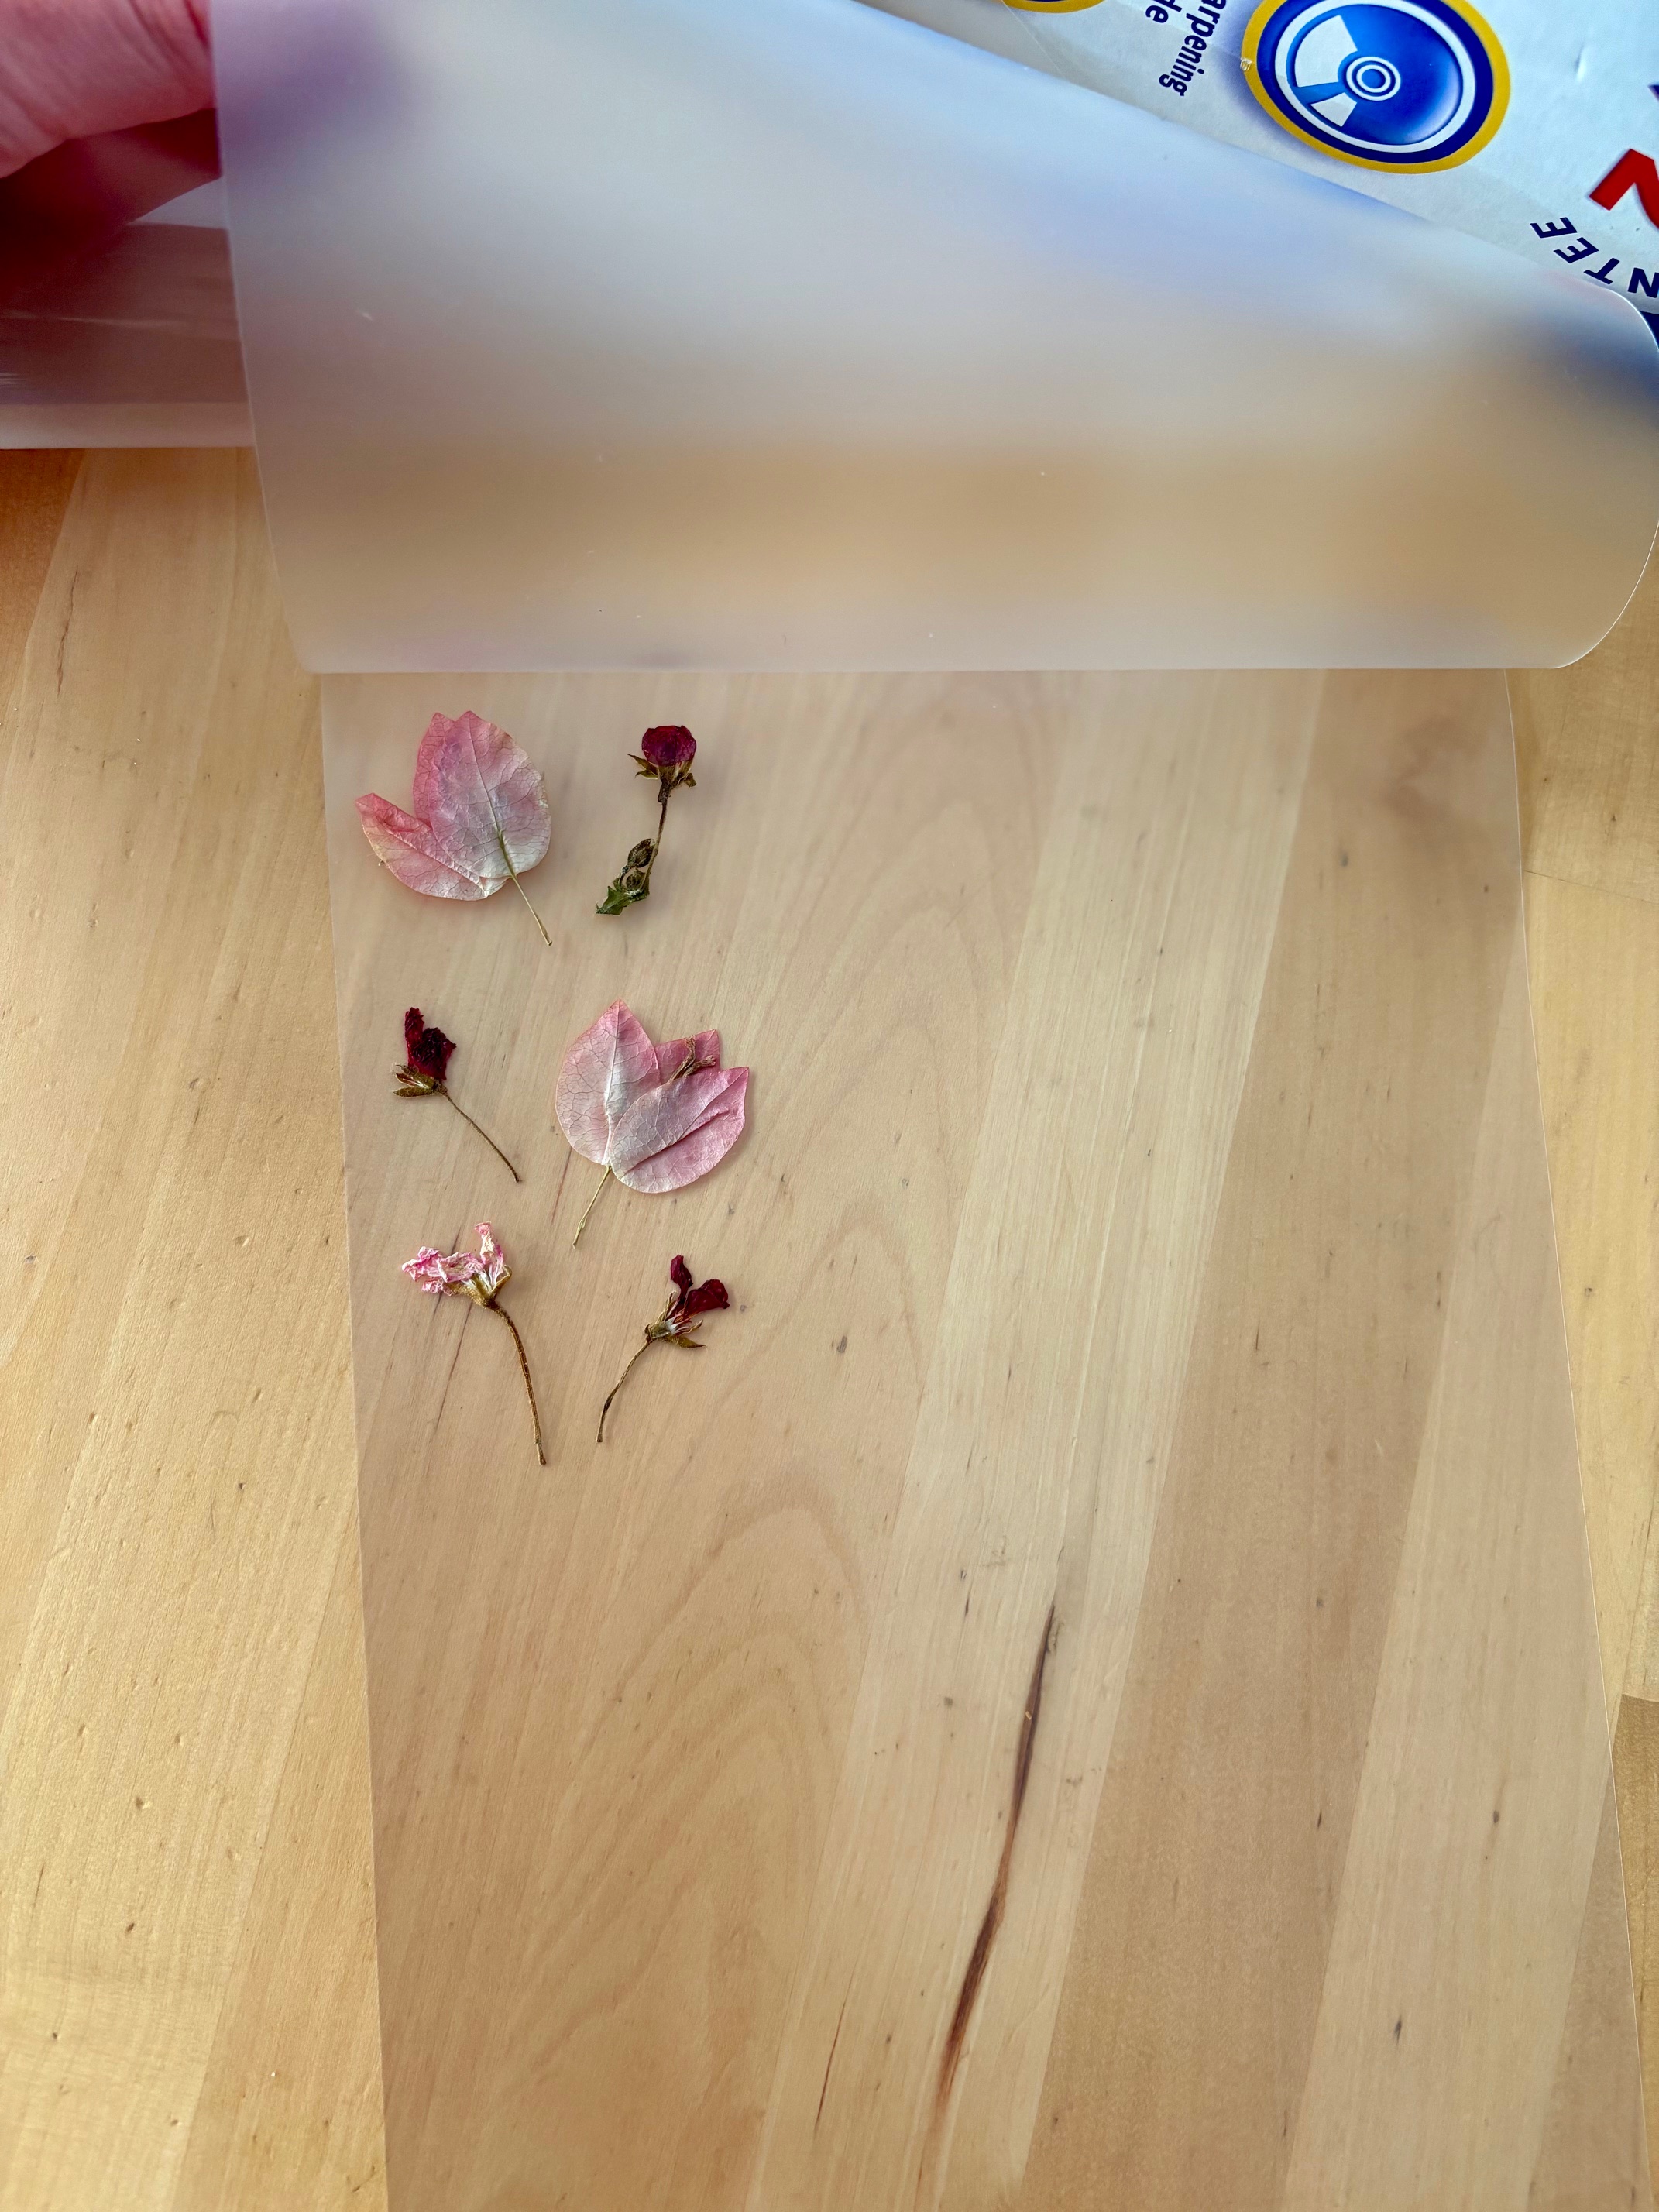
First, work out your design on a separate surface and, once you're sure, place the flowers inside the laminating pouch.
Tip: Do not let the top layer of the pouch touch the objects as you place them. It can cause a lot of static electricity, which will make them shift! Once everything is on there, closing the pouch in one swift top-to-bottom movement seems to work best.


How to make laminated leaf bookmarks


Fresh leaves or dry leaves?
Although I have laminated both fresh and dried leaves in this post, and quite liked their unique effects one week on, I would say dried leaves are the more predictable option long term.

Right: dried leaf. Some shrinking during drying process, but stable once dried.
How to laminate lace bookmarks
Lace was easy to laminate. It’s in one piece and ready to go!
Tip: Cutting the lace to size before laminating and leaving a laminated border around it afterwards worked best (left, in photo below). The edge-to-edge bookmark (right) opened up after it had cooled down.

